
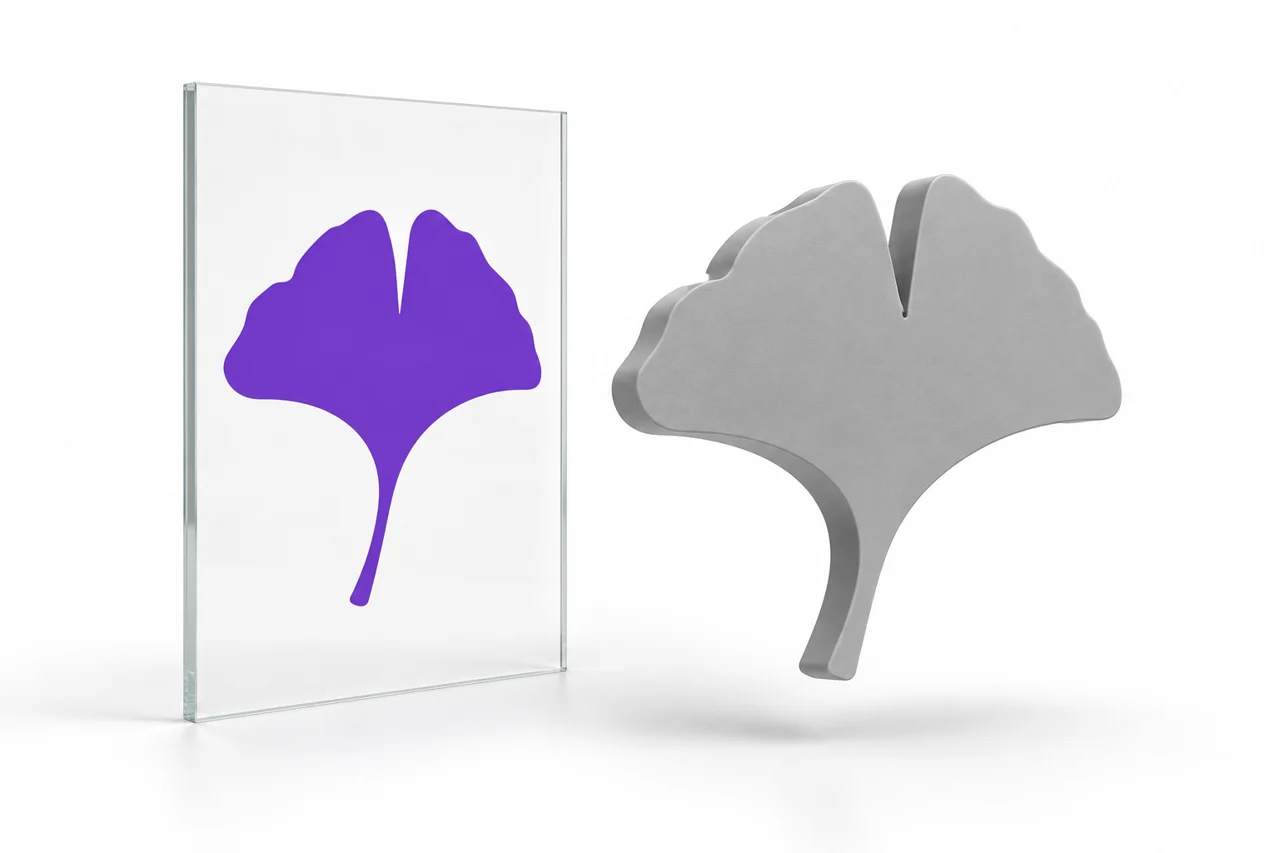
AI-generated editorial illustration, not a screenshot of a conversion result.
A transparent PNG can become a clean, freestanding 3D shape. The key is to use transparency as the outline rather than treating every pixel in the image canvas as printable material. This guide follows the process from preparing a logo to checking the downloaded STL.
Choose the result before choosing settings
There are two different jobs hidden inside the phrase image to STL. Outline extrusion takes a flat silhouette and gives it an even thickness. Heightmap relief gives different parts of a picture different heights according to brightness. A letter, a small sign, or a decorative mark usually belongs in the first group. A terrain map or an intentionally prepared grayscale sculpture belongs in the second. Choosing the wrong method can turn a simple black logo into an unexpectedly bumpy surface, even when the conversion itself works correctly.
Our PNG to STL converter starts with heightmap relief and high detail. Choose outline extrusion when you want a flat logo or character with uniform thickness. For a transparent source, automatic background handling follows the alpha channel. Empty parts of the PNG stay empty in the model. The shape has a bottom and side walls, but it does not receive an additional rectangle simply because the original image was rectangular. If a plaque is your intended result, select the full rectangle background setting deliberately instead of trying to remove the unwanted base later.
Understand what transparency actually means
Alpha is different from a white background
A PNG pixel has color information and may also have an alpha value describing opacity. A fully transparent pixel is invisible even if its hidden color is black, white, or something else. A white pixel with full opacity is still part of the picture. These cases look similar on a white webpage, but a converter must treat them differently. Saving a white-background JPEG as PNG does not automatically create meaningful transparency or remove the white area around the artwork.
Inspect the source over a checkerboard in your image editor. If the checkerboard appears around the artwork, the background really is transparent. If the surrounding area stays white, it is opaque. For that second case, choose remove-white mode and adjust the threshold. Background removal is based on pixel values, not object recognition. White details inside the artwork may disappear too. A genuine transparent export is the more predictable starting point when you need internal white regions to remain part of a solid shape.
Soft edges need a definite boundary
Antialiasing creates partially transparent pixels to make a curve look smooth on screen. A printable solid still needs a definite boundary. The converter uses an opacity threshold to decide which samples belong to the foreground. A faint shadow or nearly transparent glow will therefore not necessarily survive. For logos this is usually helpful: the meaningful silhouette stays while decorative effects disappear. If a narrow feature is important, make it fully opaque and wide enough in the original artwork before conversion.
Prepare a clean source file
Use the best original available. An export from the design application is preferable to a screenshot of the same mark. Screenshots can include interface elements, a checkerboard baked into the image, or a soft halo around the artwork. Crop unnecessary margins, keep the complete silhouette inside the canvas, and remove accidental dots. The tool sizes its result to the detected foreground, but cleaning the source still makes the preview and the exported geometry easier to interpret.
A larger image is not automatically better. The converter resamples to the selected detail level, so an enormous photograph of a tiny logo does not restore information that was never present. High detail uses 512 samples along the longest image edge. At a 100 mm width without large margins, that is approximately 0.2 mm per sample. Use this relationship to judge whether a small gap can survive. Increase physical size or simplify the design if an important feature is smaller than the sampling scale.
Plan for disconnected letters and islands
A word often contains several separate solids. The dot above an i, an accent, and each unconnected character can become separate pieces. The converter preserves those islands instead of silently joining them with a plate. This can be correct geometry while still being inconvenient to handle after printing. For one connected sign, add connecting strokes in the source or deliberately design a backing. Nearby shapes are not necessarily mechanically joined, even if they appear to touch in a small preview.
Convert your PNG step by step
- Open PNG to STL and choose the image.
- Select outline extrusion for a logo or character instead of the default heightmap relief.
- Use automatic or transparency-only handling for a genuine alpha channel.
- Set the foreground width in millimeters and choose an extrusion depth.
- Keep high detail for the final export, then convert.
- Rotate the gray model, download the STL, and inspect it in a slicer.
The starting width of 100 mm and depth of 3 mm are convenient defaults, not a guarantee of strength. A broad badge may behave very differently from a long narrow letter at the same thickness. Material, orientation, feature width, and intended use all matter. In outline mode, extrusion depth describes the total thickness of the silhouette. The separate solid-base control belongs to heightmap relief, where it supports the variable-height surface. Changing that base value will not add an unwanted rectangular backing to an outline extrusion.
Inspect the geometry rather than only the picture
The preview begins empty, so a model displayed after conversion belongs to the file you chose. Gray is a viewing material, not a filament instruction. Standard STL does not contain the colors of the PNG or the purple accent color of the website. Rotate to a low angle to inspect thickness, then look from above to verify openings inside letters. Wireframe mode makes it easier to understand why an apparently curved edge consists of many short straight segments.
After downloading, open the result in the STL viewer. This second loading step checks the exported file rather than relying solely on the converter's current state. Confirm its silhouette and bounding dimensions. The viewer is an inspection tool, not a universal repair or printability certificate. Your slicer provides the next essential check: the paths that the printer would actually follow, including any narrow features that its current nozzle and line-width settings cannot reproduce.
Troubleshoot unwanted rectangles and missing details
A rectangle still surrounds the artwork
Check the background setting first. Full rectangle intentionally keeps the whole image canvas. Transparency-only keeps every opaque pixel, so it also keeps the white background of an opaque PNG. Use remove-white mode for that case, or create real transparency in an editor. A checkerboard captured in a screenshot is ordinary colored image content, not transparency. It must be removed before the converter can follow the desired outline cleanly. Renaming the file cannot change any of these underlying pixel properties.
Small holes disappear or the outline looks stepped
A feature may be smaller than the sampled grid even when it appears clearly in the original. High detail helps, but it cannot preserve unlimited information. Widen narrow holes, remove one-pixel bridges, or increase the intended output size. Raster outlines naturally contain short steps. The SVG to STL tool accepts self-contained vector artwork through a sampled outline workflow. It does not claim to preserve mathematical curves exactly, so inspect fine text and tight corners there as carefully as you would inspect a PNG.
A letter becomes a thin frame instead of a filled shape
An outlined letter and a filled letter are different inputs. If the source contains only a narrow ring around the character, the resulting mesh will also contain that narrow ring. The converter cannot know that you intended the interior to be filled. Fill the silhouette in the source when you want a solid character. Keep transparent openings when you want a stencil or frame. Very thin strokes may be closed meshes but remain difficult to print reliably at small dimensions.
Use relief when brightness should become height
Some projects need raised internal detail on a shaped backing rather than uniform extrusion. Switch to heightmap relief while preserving the transparent boundary for that situation. Dark areas are raised by default, and invert reverses the relationship. A shaped base supports the varying heights. Read our heightmap settings guide before using an ordinary photograph, because shadows, highlights, and surface textures become geometry too. They are not automatically separated from the subject's actual depth.
A heightmap is not a reconstruction of the photographed object. A front-facing portrait cannot reveal the back of a head, and a picture of a mug does not describe the hidden side of its handle. The output is a brightness-derived surface above a base. Understanding that limit helps you choose useful images and avoids repeatedly changing settings in pursuit of missing information. For a logo with internal decoration, deliberately painted grayscale values are usually more predictable than photographic lighting.
Save settings you can reproduce
Keep the original PNG, the STL, and a short settings note together. Record foreground width, extrusion depth, detail level, and background mode. If you changed the removal threshold, record that too. A descriptive filename such as leaf-100mm-3mm-outline is more useful than several files named final. Preserve the slicer project separately, because supports, layer height, infill, and machine configuration are not stored inside standard STL. A geometry download is only one stage of the printing workflow.
Practice with original geometry from the free 3D model library, then compare it with your own design. If another application requires OBJ, use STL to OBJ and consult the file-format guide. Repackaging triangles in another format does not recover colors, editable design history, or details removed during image sampling. Keep the original artwork so that important changes can be made at the right stage rather than patched into the finished mesh.
Do one final check before printing
Measure the largest dimension, look for detached islands, and examine the narrowest bridges. Import the image-generated STL as millimeters if the slicer asks. Inspect several sliced layers rather than relying on a shaded overview alone. If a stroke disappears from the toolpath, widen it in the source and convert again. A clean source, explicit background handling, and a careful slicer review usually contribute more to a dependable result than simply choosing the largest possible download.
How to convert PNG to STL for a raised logo
Decide whether the logo needs uniform thickness or internal detail at different heights. Choose outline extrusion for a flat silhouette, or retain heightmap relief for a deliberately prepared grayscale design. In either case, true transparency can define the outer boundary without adding the empty image rectangle.
This PNG to STL file converter uses sampled pixels, so inspect small lettering at the final physical size. A clean preview does not guarantee that every stroke will appear in the slicer paths. Keep the original artwork so narrow bridges and openings can be adjusted at the source.
Convert PNG to STL online · Tune heightmap relief instead of uniform extrusion
Does a transparent PNG produce a transparent STL?
Transparency in the PNG decides which pixels are outside the shape. A transparent STL is a different idea: standard STL has no portable transparency or material-opacity setting. The exported mesh contains the selected surface, and its visible appearance is chosen by the viewer or rendering application.
To convert a PNG image to STL while keeping empty space around a letter, preserve the source alpha channel and use automatic background handling. Do not expect transparent pixels to become a clear physical material; they are omitted from the geometry.